Tana
How to create an Alias in Tana
A quick step-by-step guide for setting aliases in Tana
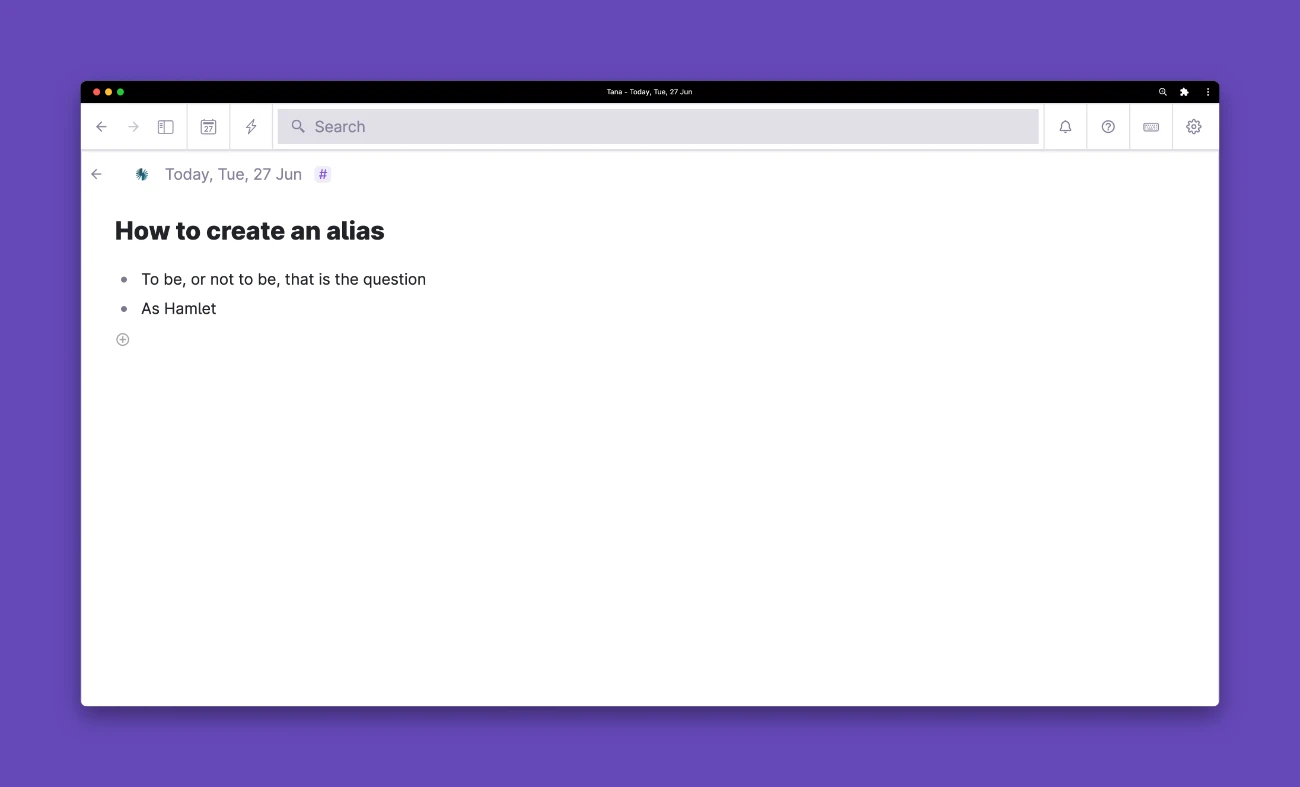
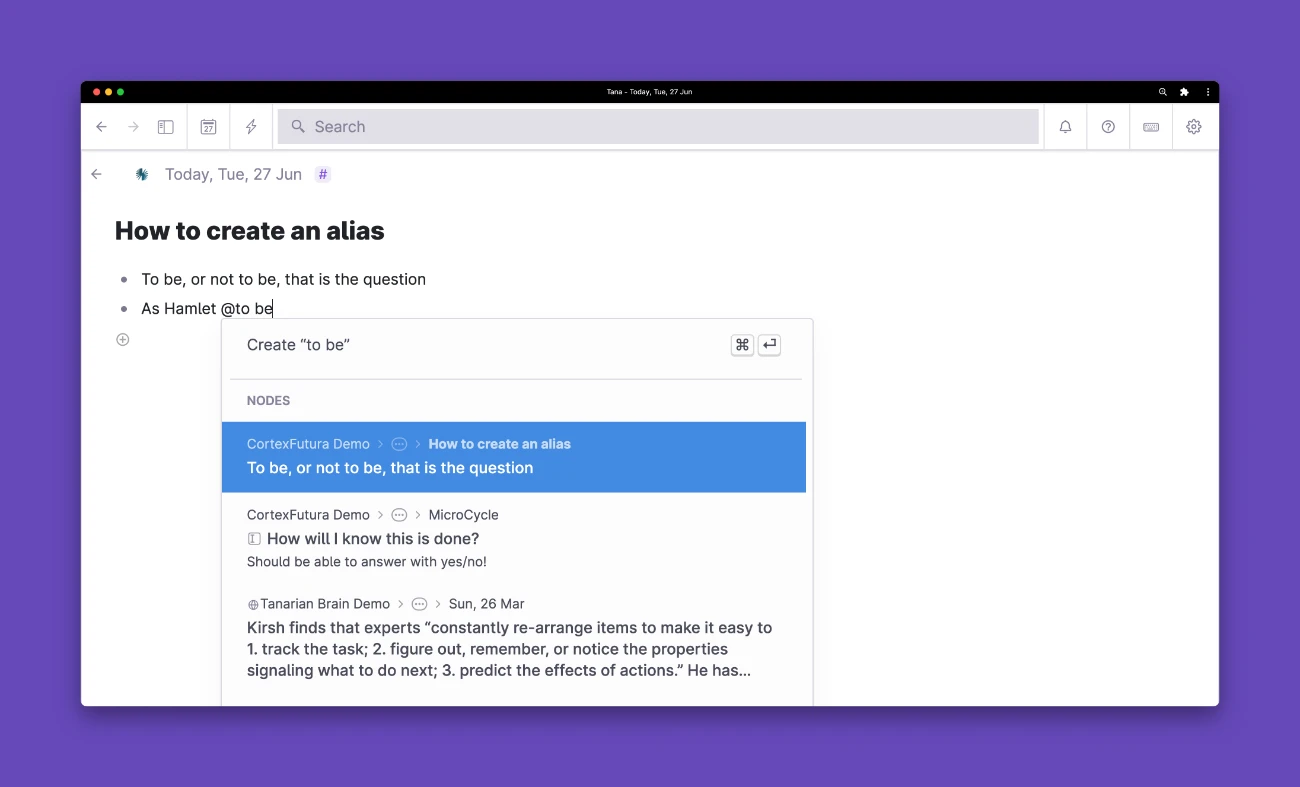
In Tana you can link from any node to any other node in your workspace very easily: you simply type @ and then search for the node you want to link to in the drop-down menu that appears. This will "transclude" the full text of the linked node into the place where you typed @.
Let's say, for example, that I have a node that says "To be, or not to be, that is the question". In another node, I can write "As Hamlet @to be", find that first node and on hitting enter this will turn into "As Hamlet 'To be, or not to be, that is the question'".
Here's how that looks in Tana:

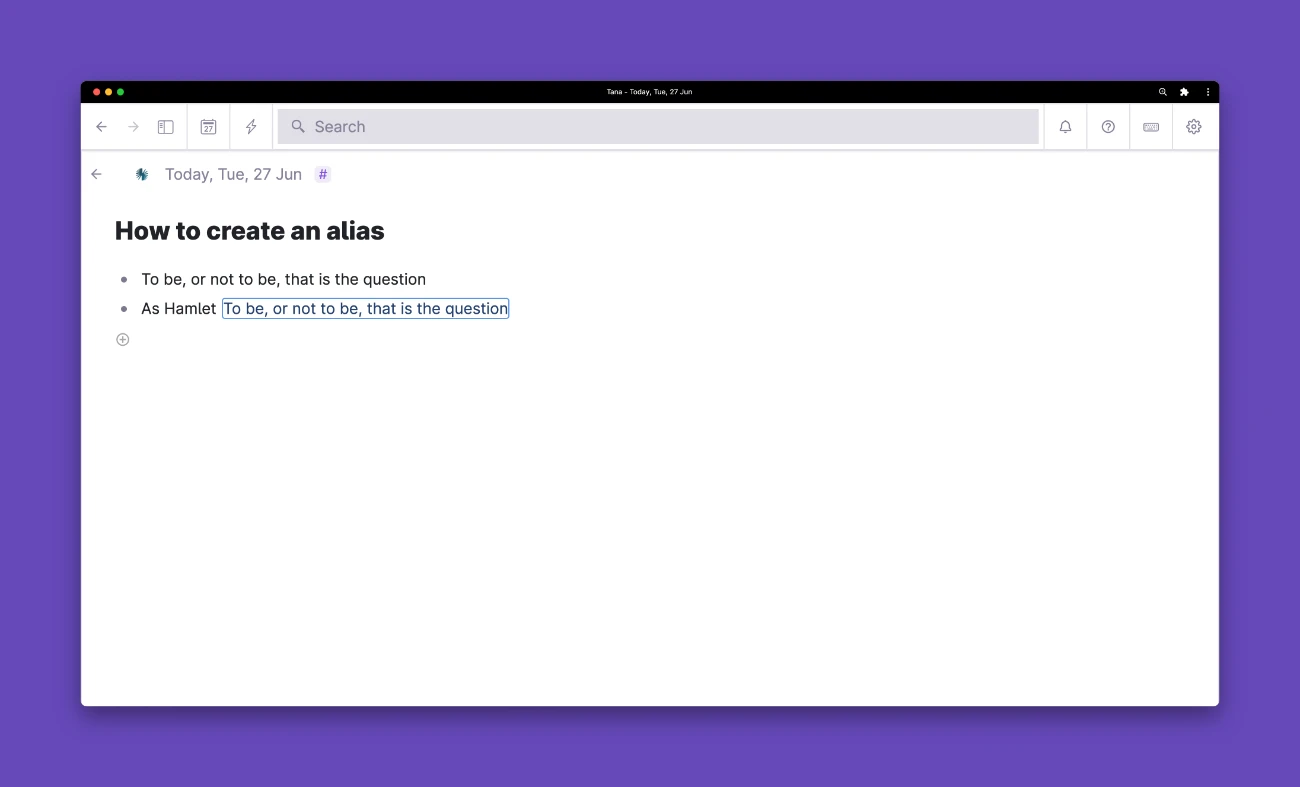
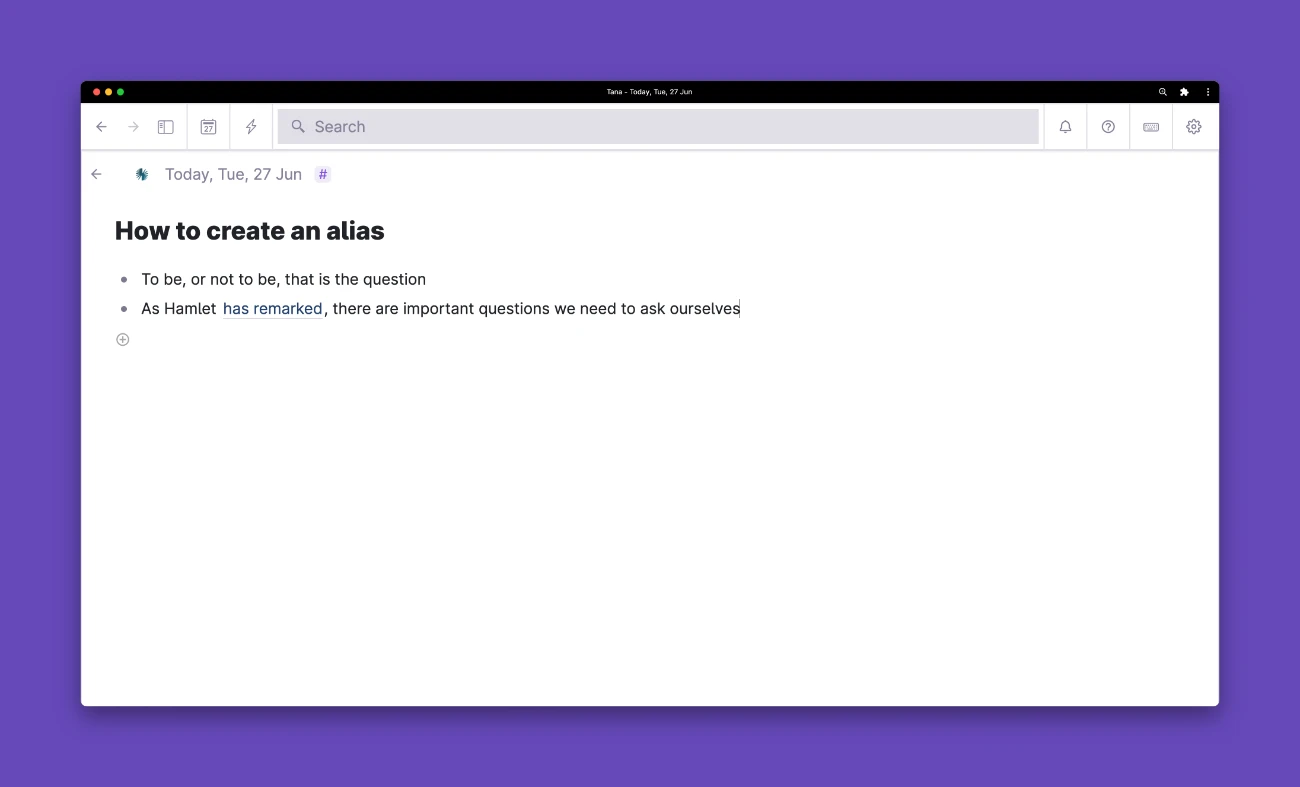
Sometimes you don't want to have the whole text there, however: our example reads very weirdly at the moment. What we want instead is something like "As Hamlet has remarked" and have the "has remarked" link to the "To be" node.
To do this, we use what Tana calls an "alias" – it keeps the link, but changes the text that we see. Here's how the finished product will look like:
To create an alias, you select the "transclusion" (i.e. the "To be, or not to be, that is the question" that appears directly behind "As Hamlet") and then type Cmd/Ctrl+k. In the popup you search for "alias" and select "Set alias to".
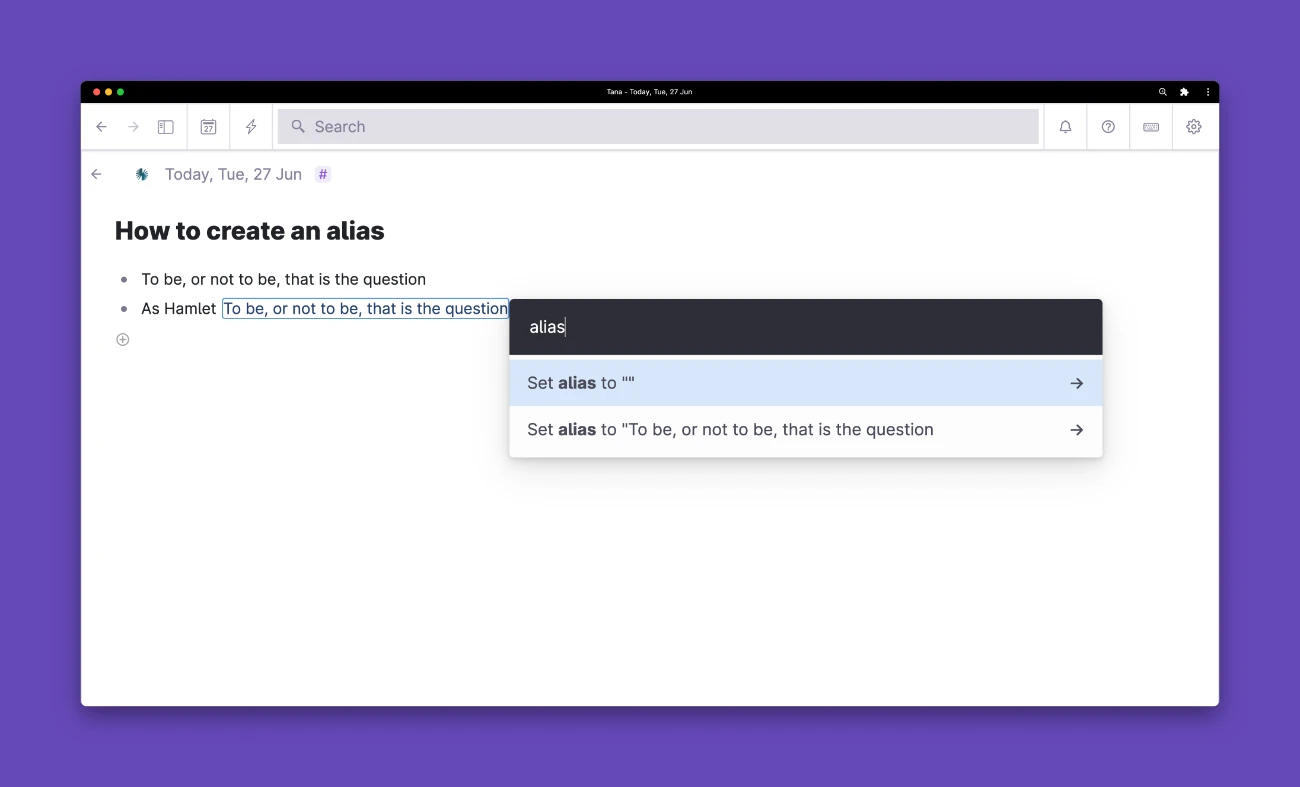
Then you type whatever text you want to appear instead of the text of the linked node. In our example we'll use "has remarked" and hit enter.
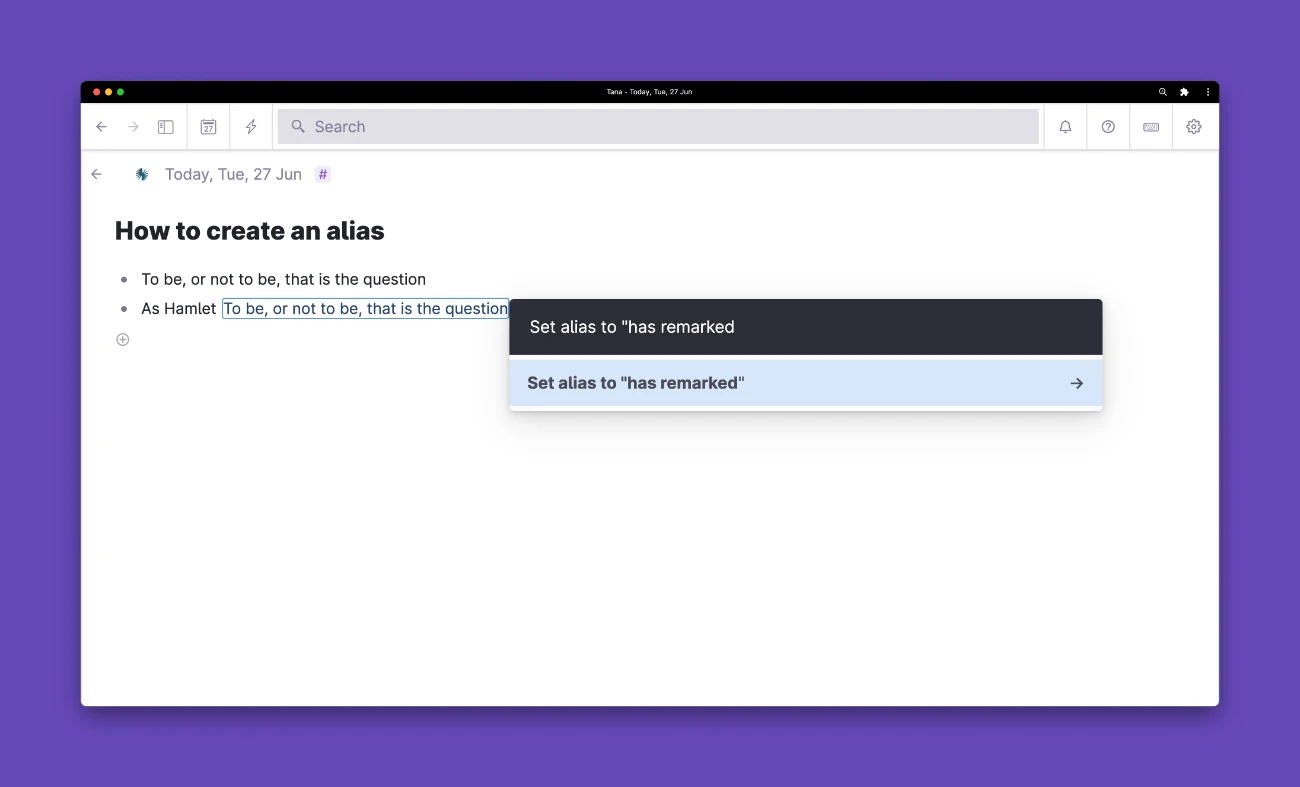
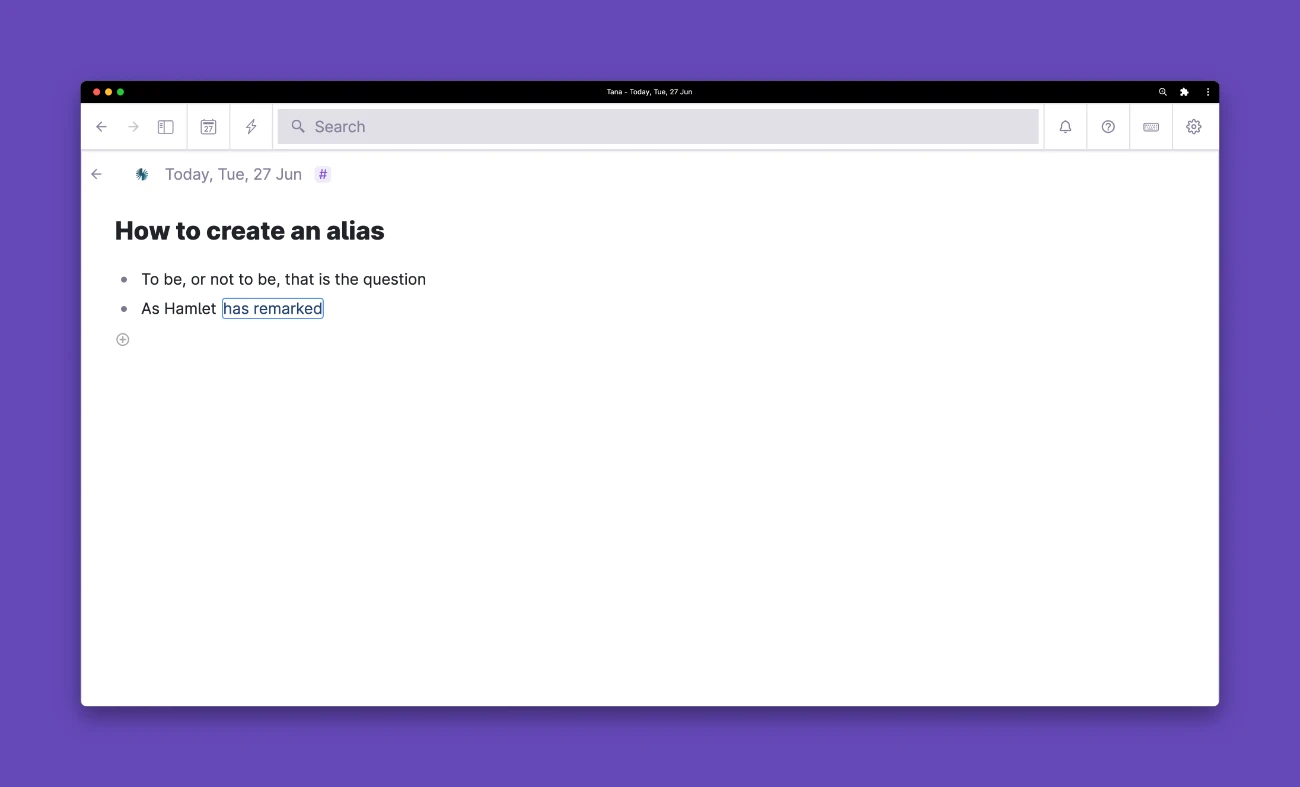
To confirm that this worked, hold Shift while clicking the link: this will show you the linked node expanded directly below.
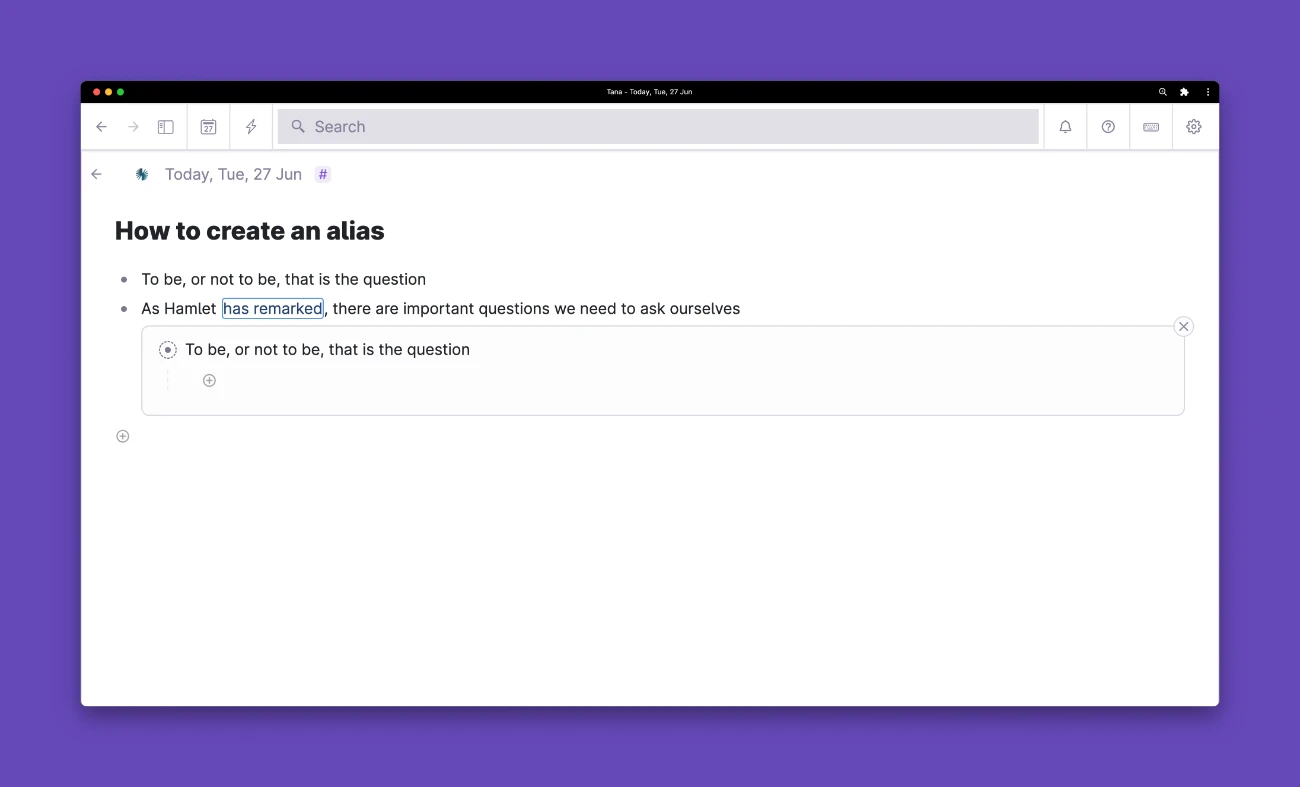
And that's how easy it is to create an alias in Tana!
If you want to learn how to use Tana for notetaking or even building a second brain, check out my Tana Fundamentals series!
Related Topics
Join My Tana Tips Newsletter
To be the first to know about new Tana features, tutorials, and other material I publish, join the 3000+ smart folks in my Tana Tips newsletter.
